A Primer on UX Prototyping, Part 2: The 3 Kinds of Prototypes

In Part 1 of our series on UX prototyping, we explored what prototypes are and why they’re such a crucial part of the product design process. While any prototype is better than none, there are multiple kinds that each serve a different purpose and have different pros and cons.
Think of prototype designs like recipes. They each have their own ingredients, but often complement or build on one another. It’s also essential to pick the right recipe for the right situation. For example, if you’re throwing together a neighborhood backyard BBQ at the last minute, you aren’t going to serve caviar or a fancy roast that takes days to make. On the other hand, if you’re serving special guests and close friends, you might choose a more complex dish that’s customized to their preferences and will really wow them.
The same goes for product designers and marketers as they’re deciding which type of prototype to use. Let’s explore the three kinds so you can pick the best prototype for your project.
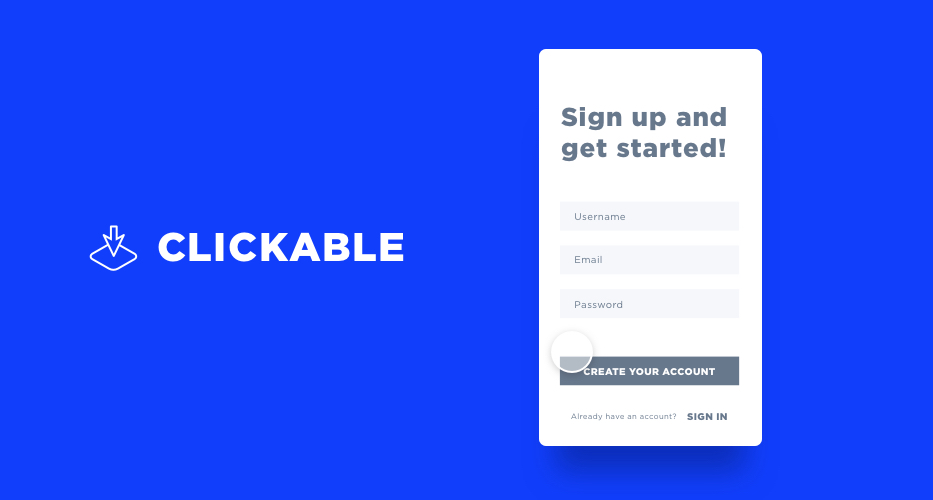
Clickable Prototype
What It Is:
A clickable prototype is a mockup that allows users to click through the design and see some of the product’s basic functionality (though not all of it).
When to Use It:
Clickable prototypes are best to use when you have already validated the problem or challenge at hand, and you want to quickly test if one or multiple solutions will solve it. Most product designers use clickable prototypes to see how users respond to their idea before spending tons of time and resources building the real thing OR when they want to test multiple concepts without building full-fledged versions of each one.
Primary Pros:
Clickable prototypes require the least amount of time and budget to create.
Primary Cons:
- The functionality of a clickable prototype design is limited and doesn’t provide users with a full view of how the whole product works, so the feedback and insights your team receives may be limited as well. Since you won’t be able to see the user’s entire experience, you may see different results once they use the real product.
- Clickable prototypes are lower fidelity (less refined) and more conceptual, which can make it difficult for a user or stakeholder to understand how the full-featured product will look and work.
Time Needed:
As little as a few days, up to 1-2 weeks
Helpful Tools:
- InVision (InVision also released a new prototyping tool that integrates with Sketch called Craft)
- Axure
- Proto.io
- Adobe Experience Design CC (still in beta at the time this article was released)
Roles Required:
- An information architect to map out all the data and core interactions you want to display
- A UX designer to design how those interactions will flow together and create wireframes for each screen
- A visual designer (optional) to add color, typography, and other design elements that establish the product’s look and feel (Remember that a prototype is a temporary learning tool, so you should invest enough resources to draw meaningful conclusions and gain buy-in, but not so much that you’re attached to it or feel reluctant to abandon it if you decide to go in another direction.)
- A team member to set up the finished design in a UX prototyping tool, such as the ones listed above (This task doesn’t usually require a special skill set, so anyone involved in the project can do it.)
Secret Ingredient for Success:
Pair sketching is a great exercise that helps create even better prototypes faster. It’s a collaborative design approach that brings together at least two stakeholders (designer + another designer, developer, user, subject matter expert, client or other stakeholder) to join forces on a product sketch, which helps the team share knowledge, gather more ideas, and iterate quickly to find the best solution.
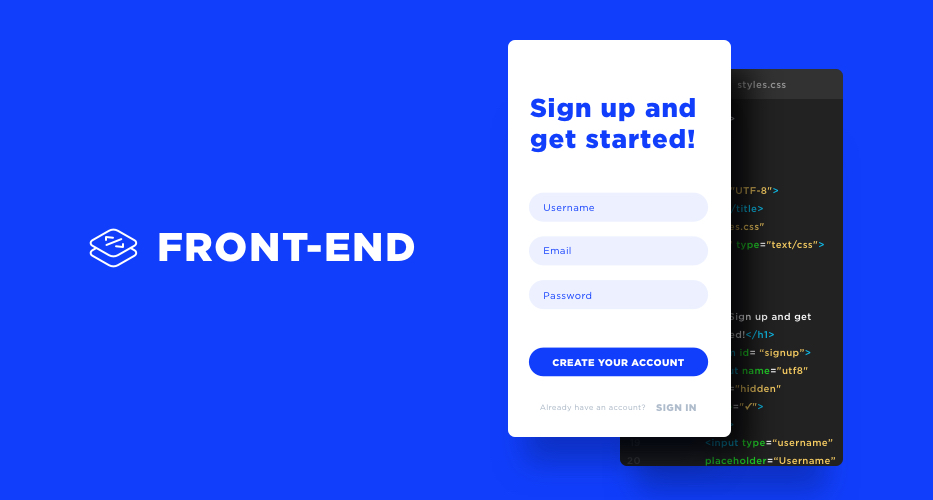
Front-End Prototype
What It Is:
A front-end prototype is a more robust prototype that’s built with code so it actually functions and shows you how users interact with some of your product’s more dynamic features. However, it uses placeholder data instead of real data.
When to Use It:
Front-end prototypes are best to use when you’ve already tested a clickable prototype and you’re ready to take the next step OR if you have more time and resources to invest in an initial prototype.
Primary Pros:
The low-fidelity nature of a clickable prototype design often means users will need guidance to understand how to use it, or they may try to interact with features that don’t exist. With a front-end prototype, they can be more independent and explorative, which provides researchers and designers with far more interesting information because they can see how people will actually use the product on their own. This prototype also feels more real, as it could be the final presentation-layer code that will be used when the product is shipped.
Primary Cons:
- A front-end prototype is built with code, so it takes more time and budget to create.
- Because the prototype is more realistic and requires more resources to create, it’s easy to get attached to the solution, which can make it harder to evaluate its effectiveness objectively.
Time Needed:
About 4-6 weeks
Helpful Tools:
Front-end frameworks are useful for rapid development because they provide boilerplate elements that can be repeated throughout the prototype, such as simple URL structures, headers, footers, buttons, etc. Look for a front-end, opinionated framework that takes a stance on how certain elements should be handled, and provides default options that will save you time and effort. Some of our favorites include:
Roles Required:
- An information architect to map out all the data and core interactions you want to display
- A UX designer to design how those interactions will flow together and create wireframes for each screen
- A visual designer (optional) to add color, typography, and other design elements that establish the product’s look and feel (Remember that a prototype is a temporary learning tool, so you should invest enough resources to draw meaningful conclusions and gain buy-in, but not so much that you’re attached to it or feel reluctant to abandon it if you decide to go in another direction.)
- A front-end developer to code the visual mockup into an HTML/CSS site or app that users can see and interact with. (Note: This person doesn’t need to specialize in Javascript because it’s not necessary to fully develop the interactive functionality of your product during the prototyping phase.)
Secret Ingredient for Success:
Let go of the perfectionist mindset, and focus on fast insights. Your main goal is to learn quickly, so when it comes to UX prototyping, shortcuts are ok. Your code can be messy, your design doesn’t need to be perfect, and the interactions don’t have to be fully fleshed out. Everything just needs to work well enough for users to prove or disprove your hypothesis.
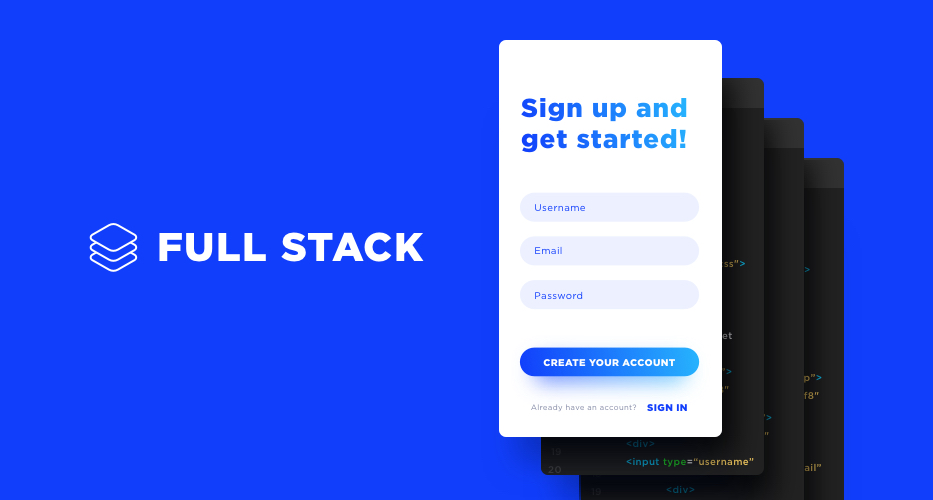
Full Stack Prototype
What It Is:
A full stack prototype is a fully coded and functional product from a user’s perspective. However, behind the scenes, it still has some technical limitations that purposely don’t allow it to scale into a full-fledged product.
When to Use It:
Full stack prototype designs are best to use when you have enough data to support your hypothesis or validate the challenge at hand, and you’re ready to invest significant time and budget into testing it.
Primary Pros:
With other kinds of prototypes, researchers and designers must rely on user feedback (what people say) to figure out if their solution is effective. They can ask gauge “idle interest,” but it’s impossible to know how users would actually act.
However, with full stack prototypes, you can see real user behavior (what people actually do) and assess whether they’re truly getting value from your product because they can interact with it as they would in real life. No guessing. No interpreting. Just watching.
Primary Cons:
- You’re betting a lot of time and budget that your proposed solution will be effective, but if you’re wrong, you will have wasted a significant amount of resources.
- A full stack prototype has more working features than a clickable or front-end prototype. Therefore, you have to define a lot of the edge cases and nuances of the product ahead of time, and build things in a way that makes them harder to change later on.
Time Needed:
About 2-3 months
Helpful Tools:
You can build your full stack prototype design using the same coding language and tools you would use to build the final product, or leverage a number of tools that provide greater scalability, reliability, and speed, such as:
- Heroku for easy hosting and deployments
- Ruby on Rails for a full-stack framework
- GitHub for code sharing and collaboration
Roles Required:
- An information architect to map out all the data and core interactions you want to display
- A UX designer to design how those interactions will flow together and create wireframes for each screen
- A visual designer (optional) to add color, typography, and other design elements that establish the product’s look and feel (Remember that a prototype is a temporary learning tool, so you should invest enough resources to draw meaningful conclusions and gain buy-in, but not so much that you’re attached to it or feel reluctant to abandon it if you decide to go in another direction.)
- A front end developer to code the visual mockup into an HTML/CSS site or app that users can see and interact with AND a back end developer who can make the product work and integrate it with other databases and systems, OR a full stack developer who can handle both tasks
Secret Ingredient for Success:
Forgo Development of Automation and Secondary Features
Taking a manual, minimalistic approach allows you to test your hypothesis as quickly and inexpensively as possible, while still gauging usability and interest in your product.
For example, instead of automating features in your full stack prototype, consider ways your team could complete the process manually behind the scenes (while making it seem automated to your users).
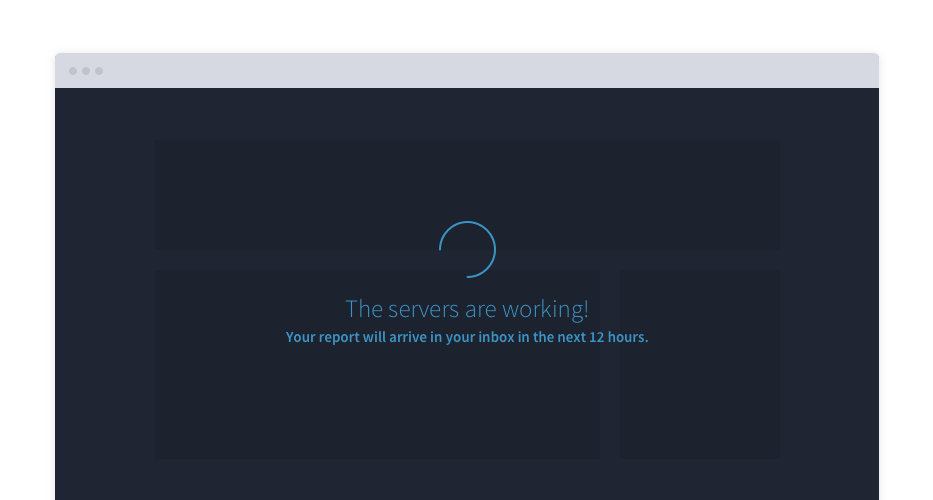
Many products pull in a bunch of data, analyze it, and deliver reports to their users that make the information easier to view and understand. Ideally, this process would be automated. But does it have to be in your prototype? Nope. Instead, you could have the user import or add their data, then show them a screen that says, “Your report will arrive in your inbox in the next 12 hours.” It seems like magic is happening behind the scenes, when in reality your team could be manually completing the process on the back end.
Also, think about secondary features or tasks that you can test without building them out. For instance, if your product delivers a PDF to its users, you could add a button to the prototype that says, “Download PDF” and see how many people click it. When they click, a message could appear that says, “We’re currently working on this feature and will contact you when it’s available.” That way, you can test how much interest there is in the feature without spending time and budget developing it now.
Avoid Premature Optimization
Many developers naturally look for ways they can optimize their code to make it faster, more scalable, and better overall. Normally, this is a desirable quality, but during the prototyping phase, it actually causes more problems than it solves. Premature optimization slows down the process, makes the product harder to change later, and increases the likelihood that you’ll feel more attached to the proposed solution.
Although it feels counterintuitive, don’t try to solve problems that don’t exist yet. Don’t waste time prototyping less important features that won’t add value for your users or existing features you can simply replicate. Don’t make the code or design any fancier than it need to be. With each task, ask yourself, “Will this work help us test our hypothesis quickly?” If the answer is no, move on and invest your time elsewhere!
Let’s Get Cooking!
Like a chef who’s looking through their favorite cookbook, product designers have several options to choose from as they begin prototyping. Picking the right “recipe” depends on your situation, goals, resources, and time.
No matter which kind you decide is most appropriate for your project, remember to think like a chef and treat prototyping as the test run before you make the final product. It may turn out perfectly and give you more confidence when you start cooking for real guests. Or, you might notice that the recipe needs a little more of one spice, a little less of another, or a completely different approach altogether. Either way, the exercise is invaluable for cooking up success!
If you’re looking for advice or help with UX prototyping, let’s chat. Whether you want to validate a concept, get buy-in, or take the first step toward making your idea come to life, we can help you navigate the process and uncover the insights you need to move forward.


